Surface finishing with carbon
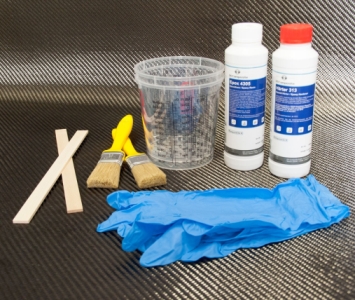
Surface finishing is not that difficult with a little craftsmanship. The parts should be processed under optimal conditions, i.e., the material and room temperature should be around 20°C. A dust-free environment should be provided, and you should always wear disposable gloves.
We recommend our carbon sets.
Materials
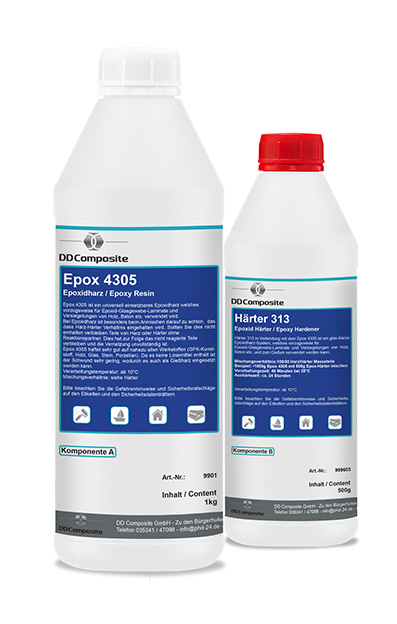
- Epoxy resin Epox4307/Hardener313
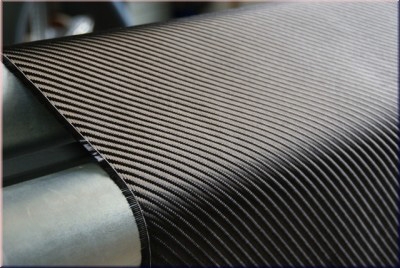
- Carbon fabric (in this case 200g/m² twill)
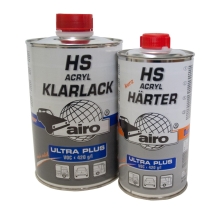
- Clear varnish
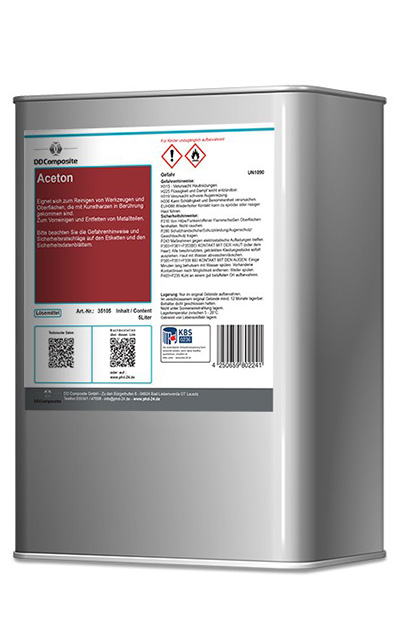
- Acetone or silicone remover
Tools
- Brushes or laminating rollers
- Mixing cups and stirring sticks
- Sandpaper
- Knife and scissors
- Disposable gloves
- Digital scale
Pre-treatment of surfaces
Plastic parts, GRP, metals, and wood should be clean, dry, and free of grease. Remove dirt, solvents, and grease from the parts to be coated.
Then sand the surfaces with grit sizes between 40 and 180. Cleaning and sanding make the parts more wettable and significantly increase the adhesion and service life of the adhesive bond. After sanding, remove the sanding dust with a vacuum cleaner or compressed air. Clean with acetone or silicone remover and allow to air dry sufficiently.
Always allow parts treated with acetone to air dry for 2-3 hours.
In the case of trim parts (e.g., dashboards), care should be taken to ensure that any material that may need to be removed beforehand can be reinstalled later with a precise fit. Colored parts should be painted black or finished with two coats of carbon, otherwise the color may show through the fabric later.
TEST THE ADHESION ON PLASTIC PARTS FIRST.
To avoid adhesion problems, especially on thermoplastics or plastics, you must/should carry out a test beforehand. You can also apply a primer (adhesion promoter) or an epoxy resin-compatible paint. If you are unsure about unpainted plastic parts, talk to your trusted painter. They can provide you with information and, if necessary, help you with tempering and painting the parts. Industrial molded parts may also contain residues of release agents. To remove these, temper (heat treat) the parts for 1-2 hours at 60°C beforehand. For visible components that are exposed to temperatures above 45°C, e.g., car parts that can heat up to 75°C in summer, tempering is absolutely necessary. Otherwise, discoloration and deformation may occur. For heat-stressed parts, we recommend our Epox 200G + Hardener 120L.
Preparation
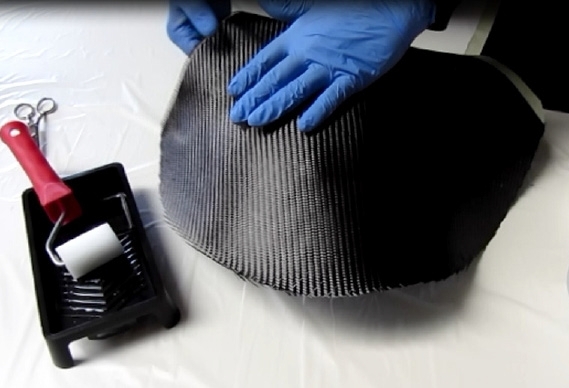
You should have all materials ready and cut the carbon to size. To do this, place the carbon on the part to be coated, cut it with sufficient overlap, and set it aside again. Alternatively, you can also work with a template.
Resin application and laminating
The 200 g/m² carbon has a resin consumption of approx. 240 g/m².
Calculate the surface area of the cut piece of carbon and then the amount of resin required.
Example:
A cut piece of carbon has an area of 0.2 m² and the resin consumption for this fabric is approx. 240 g/m².
Calculate the amount of resin: 240 g x 0.2 m² = 48 g of resin required.
Keep in mind that brushes or laminating rollers also absorb resin, so add a flat rate of 10 g. You will therefore need approx. 60 g of resin. With a mixing ratio of 100:50, this is 40 g of epoxy resin 4307 + 20 g of hardener 313.
Mix the resin with the hardener and stir both components thoroughly.
It is essential to adhere precisely to the mixing ratio, which can only be achieved by weighing the components accurately using a (letter) scale. When mixing, you will only achieve a homogeneous mass by decanting and stirring slowly and thoroughly (important: scrape off the edge of the mixing cup).
After stirring, pour the resin/hardener mixture into a second mixing cup and stir it again thoroughly.
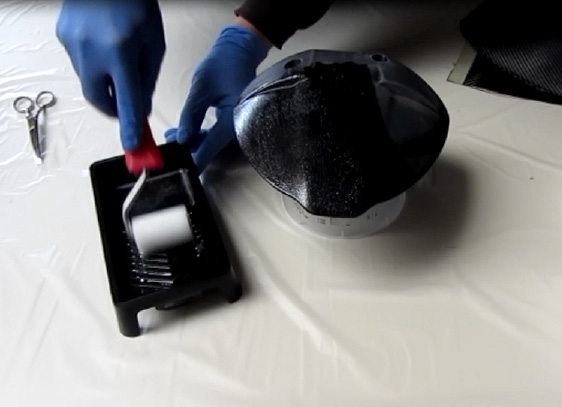
Apply the mixed resin thinly with a brush or laminating roller and carefully lay the carbon on top.
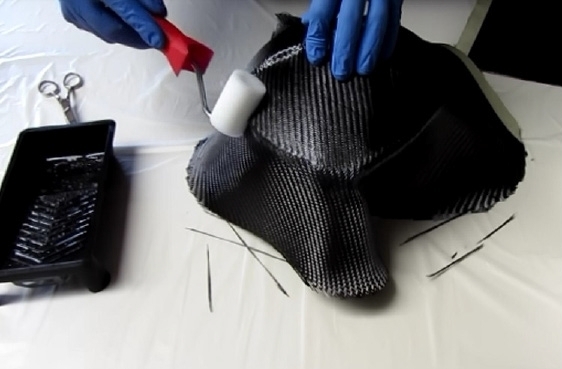
Then moisten the fabric and apply an even layer of resin. Roll or dab from the center to the edge to remove any air that is still in the laminate. Work carefully so as not to shift the fabric. Now you should wait until the resin has gelled before applying another layer of resin. If the surface hardens faster than expected, you should wait 24 hours and sand again (320 grit). Be careful not to sand down to the fabric, but only to sand the surface of the resin. Cut off any excess carbon with scissors, a blade, or a suitable tool and carefully sand the edges.
After sanding, remove the sanding dust with a vacuum cleaner or compressed air and apply another coat of resin. Openings or screw connection points that cannot be covered with carbon due to their design should be removed and sanded with a blade or suitable tool before applying the clear coat.
Clear coat
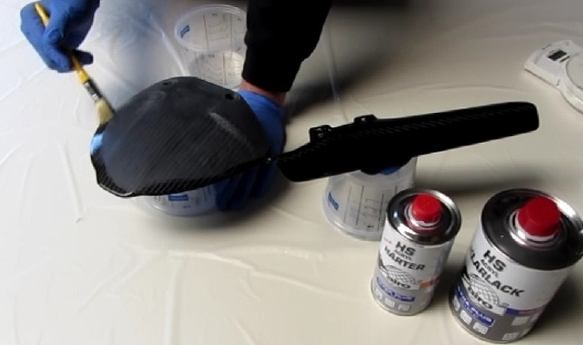 We recommend applying at least 2 coats of our Acrylic HS Clear Coat Ultra Plus. This VOC-compliant clear coat is particularly user-friendly, easy to apply, and stands out thanks to its low consumption.
Once the laminate has completely hardened, sand the surface with 400, 600, and possibly 800 grit sandpaper.
The first coat can be applied with a brush. To do this, mix the clear coat with hardener in a mixing ratio of 2:1 and stir both components thoroughly. Example: 30g of clear coat is mixed with 15g of hardener.
Apply the mixed clear coat and allow the parts to air dry for 8-10 hours. For oven drying, set the object temperature to 60–65°C for 20–40 minutes. Once the clear coat has hardened, sand the surface with 800-grit sandpaper. If there are still small uneven areas, you can apply another coat with a brush.
The final coat of clear varnish should be applied by spraying. Use a spray nozzle between 1.2 and 1.4 mm and a spray pressure of 3.5 to 4 bar.
Instructions in PDF format for downloading or printing can be found here: Surface finishing with carbon
Watch a video about epoxy resin and carbon here:
Coating/covering parts with carbon fabric
In addition, you can quickly and easily find information about frequently asked questions here: Frequently asked questions
The information contained in this manual is based on careful research. It is provided for informational purposes only and does not exempt the user from conducting their own tests for the intended purposes and from checking for any infringement of third-party property rights. The information is non-binding and does not constitute a guarantee of properties within the meaning of any laws. No liability is accepted for the accuracy and completeness of the information.