Mold making with fiber composites
Epoxy resin with coupling layer
With a little craftsmanship, making a mold is not that difficult. A mold should be built under optimal conditions, i.e., the material and room temperature should be around 20°C. A dust-free environment and possibly an extraction system should be available. You will also need the necessary materials. For a GRP mold, you will need the following:
Materials:
- Epoxy gelcoat 4300 + hardener 390
- Thixotropic agent
- Color paste
- Epoxy resin 4307 + hardener 1203 F
- Glass filament fabric finish 163g/m²
- Roving fabric 300/m²
- Roving fabric 580/m²
- Glass fiber chips
- Microflocks
- Release wax
- Film release agent PVA release varnish
- Acetone
Tools and aids:
- Brush and de-airing roller
- Mixing cup and stirring rods
- Knife and scissors
- Disposable gloves
- Respiratory protection
- Digital scales
Mold types
There are two main types of molds:
The negative mold is for smooth outer surfaces, e.g., visible parts such as model making or car bodies (hoods).
The positive mold is for smooth inner surfaces, e.g., containers or pools.
Master model
In these instructions, we assume that a master model is available.
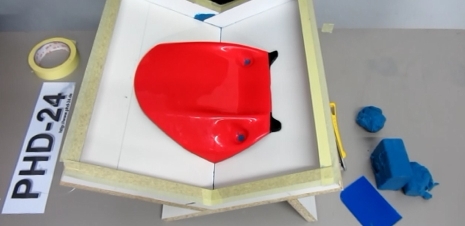
You can also make a master model out of wood, plaster, modeling clay, aluminum, or fiberglass. If you are using a master model made of absorbent material, such as plaster, you can create a smooth surface by coating or sealing the mold with a topcoat resin or varnish. It is important that the master model is made very cleanly and accurately, as this saves a lot of time and rework on the finished parts at the end.
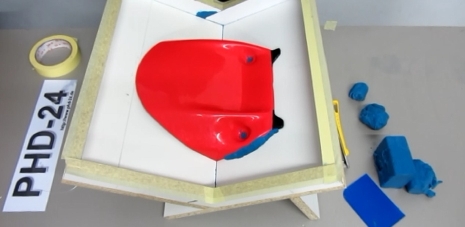
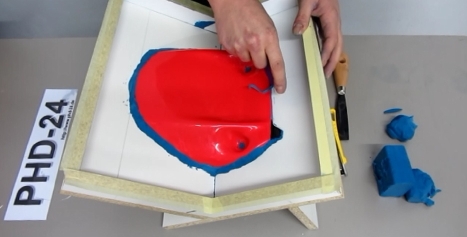
Separation board joints / gap covers
You can work with filler or plasticine.
Roll the plasticine into small beads, press them into the gap and then carefully remove the excess with a blade or spatula.
Mix the filler with a little hardener and apply it to the gap.
Using less hardener gives you time to cut off the filler with a blade or spatula before it hardens.
Separating layer(s)
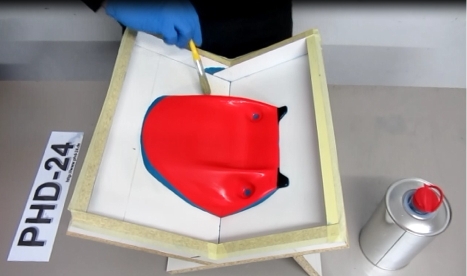
For an optimal separating layer, we recommend the following structure:
Layer 1:
Apply standard separating wax with a brush, cotton cloth, or spray gun (spray pressure of 2.5-3.5 bar and a nozzle of 1.2-1.5 mm), leave to work for 2 minutes, and polish. Repeat up to three times depending on the shape.
Layer 2:
The PVA varnish can be applied with a fine-pored sponge, brush, or spray gun (spray pressure of approx. 3-3.5 bar and a nozzle of 1-1.5 mm). The drying time is approx. 20 min. (at 20°C), approx. 10 min. with the spray gun. High humidity can prolong the drying time.
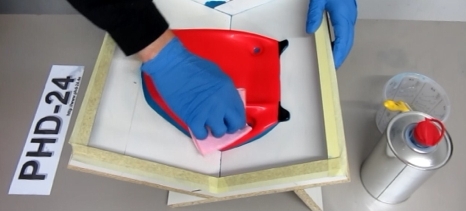
Laminating
You should have all the materials ready and cut or tear the fiberglass fabric and roving to size. To calculate how much gelcoat is needed, you can weigh a piece of fiberglass fabric cut to size for the mold.
Example: The cut piece of 163/m² fiberglass fabric weighs 120 grams. Calculate the surface area: 120g : 163g/m² = 0.74m²
Recommended application quantity of epoxy gelcoat 300g/m². Calculate the amount of resin: 300g/m² x 0.74m² = 222g gelcoat Mixing ratio 100:55
222g :155=1.43
1.43x100=143g resin
1.43x 55= 79g hardener (use digital scales)
Apply the gelcoat (Epoxy Gelcoat 4300 + Hardener 390) to the original mold, always brushing in one direction if possible to avoid air pockets. (You may want to add the desired color paste beforehand, depending on what color you want your final part to be.)
Note: To prevent runoff on very steep surfaces in the mold, you can add up to 5% thixotropic agent to the resin/hardener mixture.
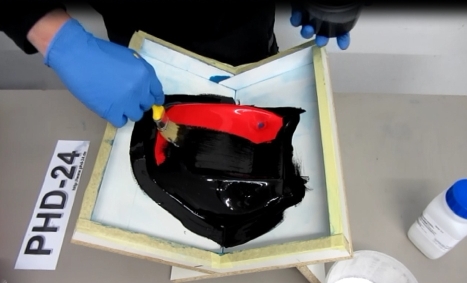
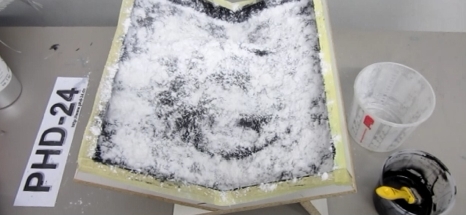
When testing with your finger, the resin should be gelled to the point where the surface is still slightly sticky but no longer stringy. (Wear gloves!)
After applying the second coat, immediately sprinkle on equal parts glass fiber chips and microflocks mixed together.
Once the resin has gelled again, you can carefully vacuum up the excess glass fiber chips and microflocks without damaging the gelcoat layer.
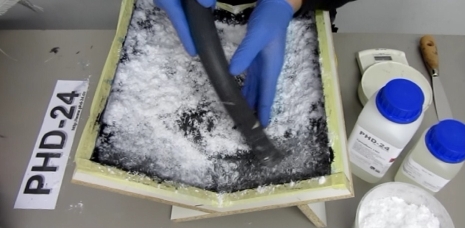
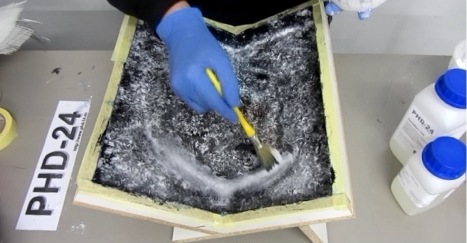
To produce the coupling layer, mix epoxy resin 4307 + hardener 1203 F with glass fiber chips and microflocks. Add equal parts glass fiber chips and microflocks to the resin until a thick but spreadable mixture is formed. Apply this mixture to the edges so that the radii of curvature are large enough for subsequent fabric layers.
Mix epoxy resin 4307 + hardener 1203 F.
For the amount of resin, you can use the rule of thumb: glass weight (total) = amount of resin.
Apply a layer of resin to the mold, insert the first layer of glass filament fabric Finish 163g/m² and wet the fabric. Use a brush to smooth and dab out any air still in the laminate, working from the center to the edge. If the glass fiber layer appears transparent, it is optimal; if white spots are visible, apply some resin with a brush. Alternatively, you can also use a laminating roller or a de-airing roller.
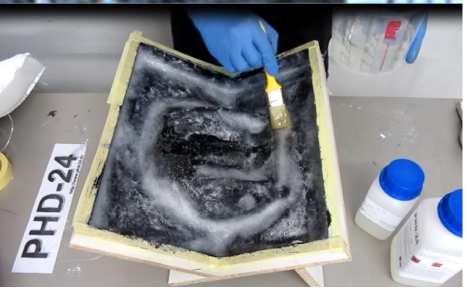
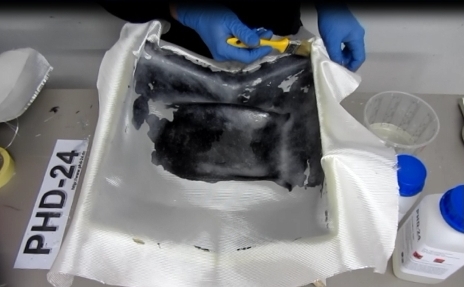
Continue working with another layer of 163 g/m² glass filament fabric, placing it at a 45-degree angle to the first layer. If necessary, apply a little resin, insert a layer of 300 g/m² roving fabric, and deaer the layer again. Continue working with the roving fabric, three layers of 300g/m² and two layers of 580g/m².
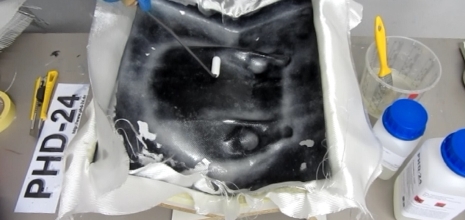
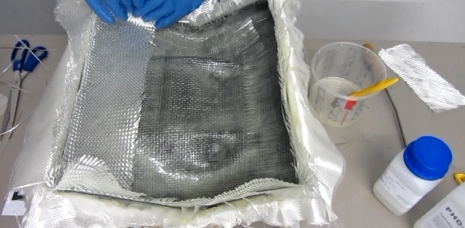
Approximately 4-6 layers should suffice for a smaller mold. The number of layers depends on the subsequent requirements for the mold. A mold should always be laminated thicker than the finished part so that the finished part cannot warp the mold due to shrinkage during drying. Alternatively, you can replace 580 g/m² roving fabric with 800 g/m² to achieve a certain material thickness more quickly. You can also work with biaxial fabric, filament fabric, etc. The penultimate layer should be impregnated with a low amount of resin, and the final layer should consist of 163 g/m² glass filament fabric. Laminates should always be impregnated from the bottom up. Make sure that there is always enough resin on the surface and that the fabric is impregnated after the bottom layer has been inserted.
A laminate should have a matt sheen after drying.
If too much resin has been applied at the end, you can counteract this with a tear-off fabric.
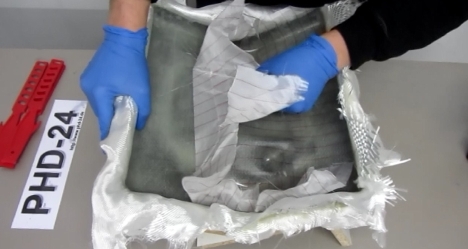
The mold should be left to cure for at least 24 hours at 25°C.
After removing the tear-off fabric, the component is completely dust-free, clean, and has an even, rough surface structure, providing an ideal substrate for further lamination, sealing, or bonding. This saves you the hassle of sanding and removing sanding dust.
Make sure that the tear-off fabric protrudes by approx. 10 cm on all sides, as this will make it easier to tear off later.
Demolding
The mold should be able to be removed from the original mold with the help of plastic or wooden wedges.
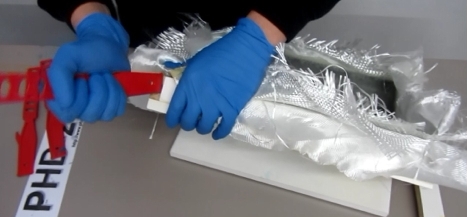
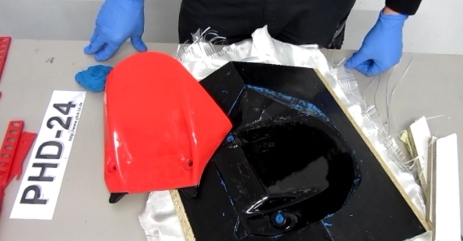
After demolding, you can trim the mold and polish it to a high gloss if necessary. Silicone-free polishing agents should be used for this.
Small imperfections in the surface can be filled with a little mold building gelcoat and smoothed with a strip of adhesive tape.
Other imperfections can also be sanded down using sandpaper (600 to 2000 grit). When sanding and polishing, take care not to generate localized heat.
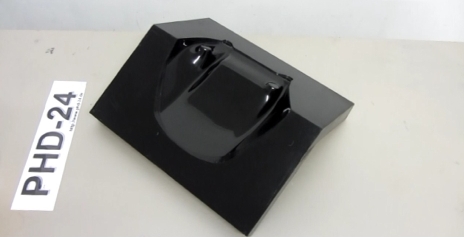
Instructions with many useful illustrations in PDF format for downloading or printing can be found here: Mold making with epoxy resin
In addition, you can quickly and easily find information about frequently asked questions here. Frequently asked questions
The information contained in this manual is based on careful research. It is provided for informational purposes only and does not exempt the user from conducting their own tests for the intended purposes and from checking for any infringement of third-party property rights. The information is non-binding and does not constitute a guarantee of properties within the meaning of any laws. No liability is accepted for the accuracy and completeness of the information.